前言
使用Docker+Cloudflare可以在自己的VPS服务器上搭建简易的静态网站。
采用的镜像为nginx镜像,同时在主机用nginx反向代理实现转发功能,使得输入域名就能访问相应的容器端口。
简单的说,可以通过反向代理,实现在输入不同的域名来访问主机的80端口时,将请求转发到其他的自定义端口,更容易部署和修改网站的服务。同时使用Cloudflare将解析指向自己的VPS,隐藏VPS真实IP。
对于原理没有特别多的解释,但是按照步骤来能实现稳定的访问。
在VPS上使用docker搭建简单静态网站并使用cloudflare
Dockerfile
静态网站只有一个主页,直接copy到html目录下就行(半年以内用docker-compose搭建复杂一点的网站)
1
2
3
4
5
6
7
| FROM nginx:latest
COPY index.html /usr/share/nginx/html/index.html
EXPOSE 80
CMD ["nginx", "-g", "daemon off;"]
|
Cloudflare
DNS设置
Websites添加购买的域名

Add a site
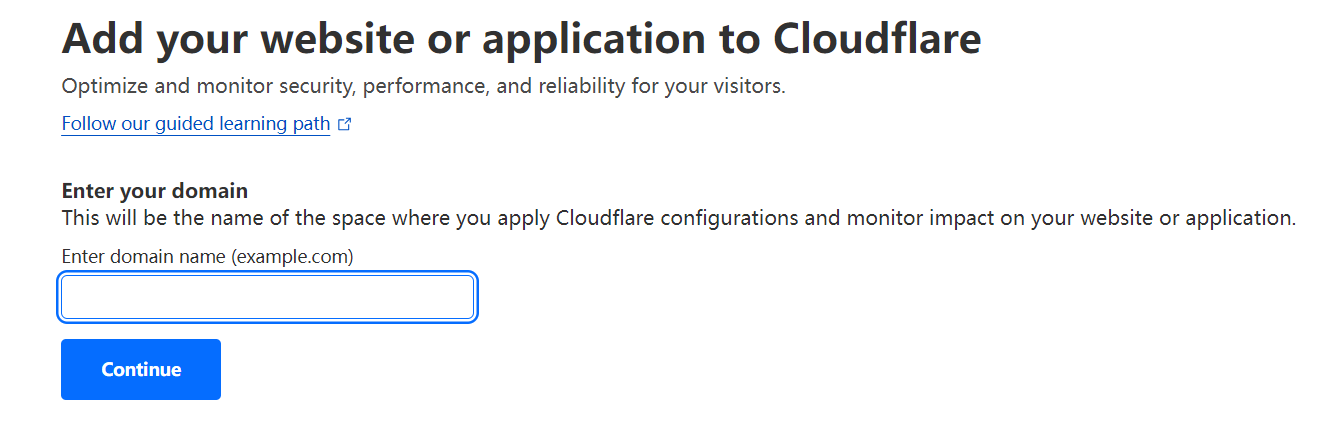
在输入框中输入域名
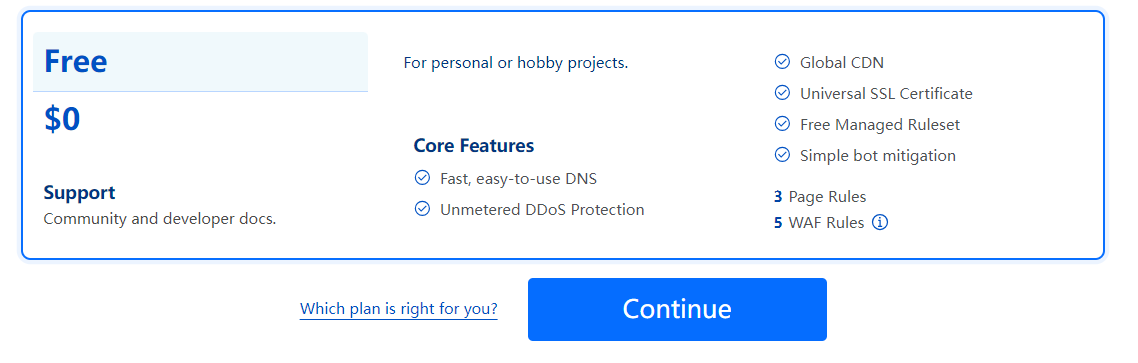
DNS设置
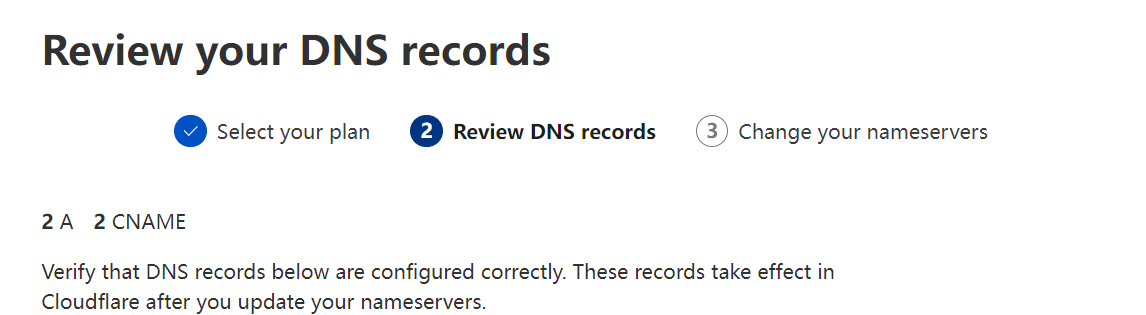
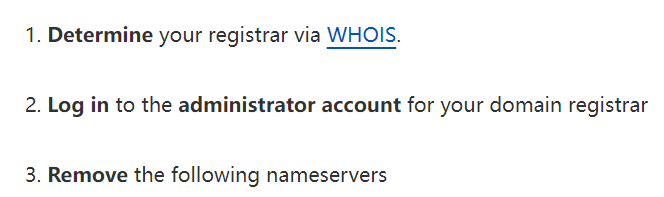
这里可以直接继续,然后回到域名停放服务商,更改如下配置,一般找到含有nameservers相关选项更改
添加记录

完成
和http、https有关的设置
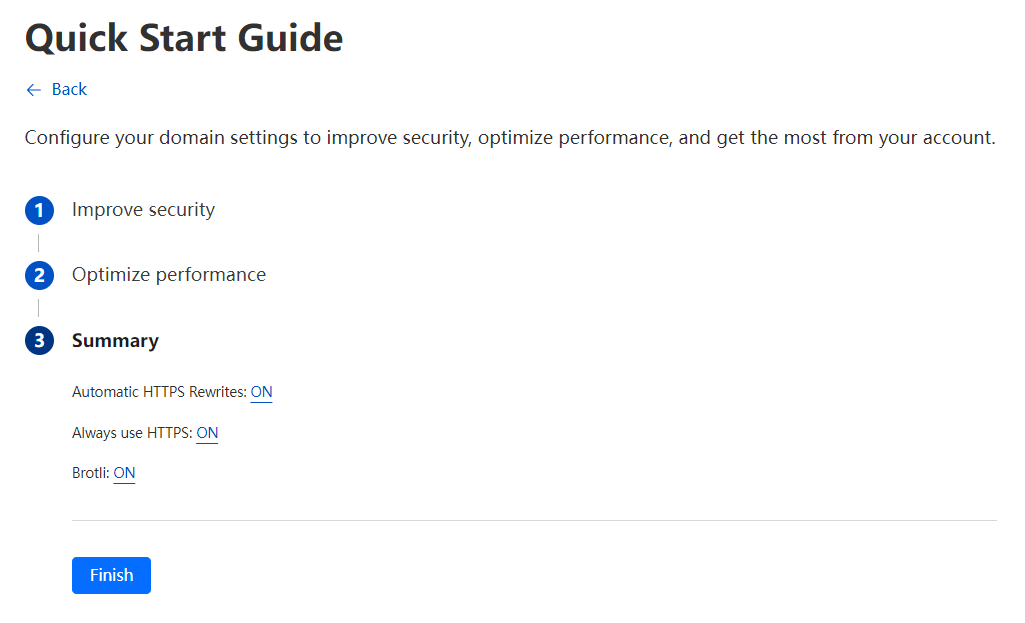
接下来就是检查设置完成状态(完成后会发送邮件)


修改记录
左侧DNS设置

修改记录,使用一条A记录指向VPS主机
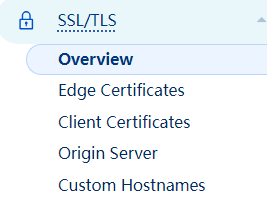
SSL TLS设置
采用Strict模式(四种模式区别主要在于是否采用加密,是否采用VPS到Cloudflare之间加密)

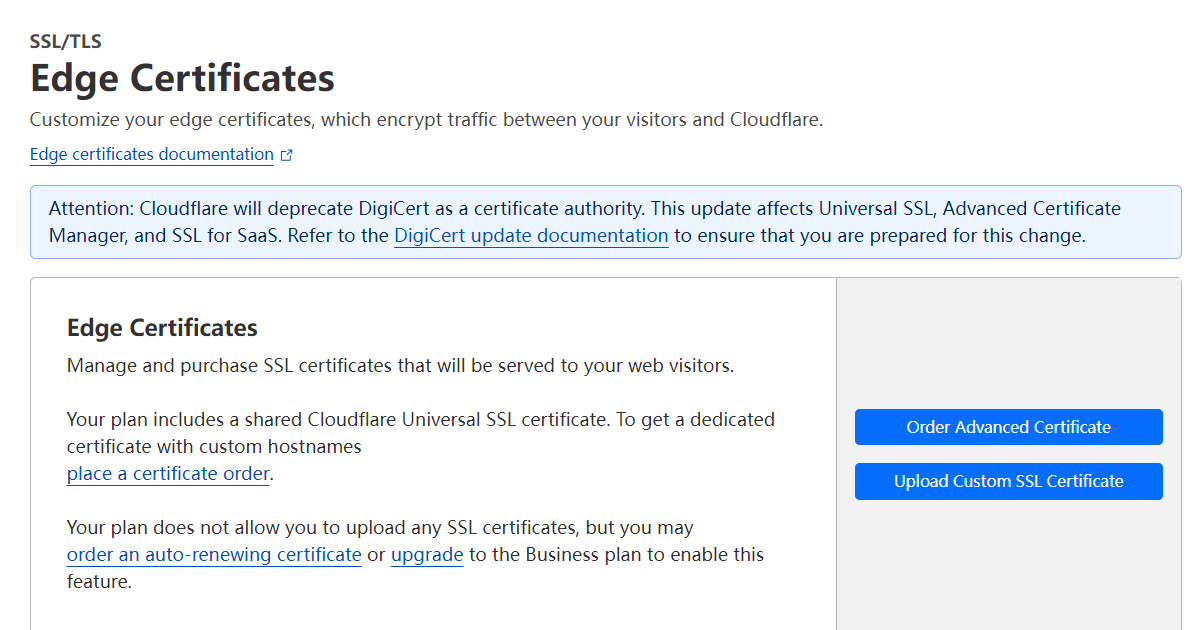
证书类别
边缘证书:指从用户浏览器到Cloudflare之间的加密证书
服务端证书:指Cloudflare到VPS之间加密证书
边缘证书是已经设置好的,会自动续期,不需要更改这里的配置
设置客户端证书
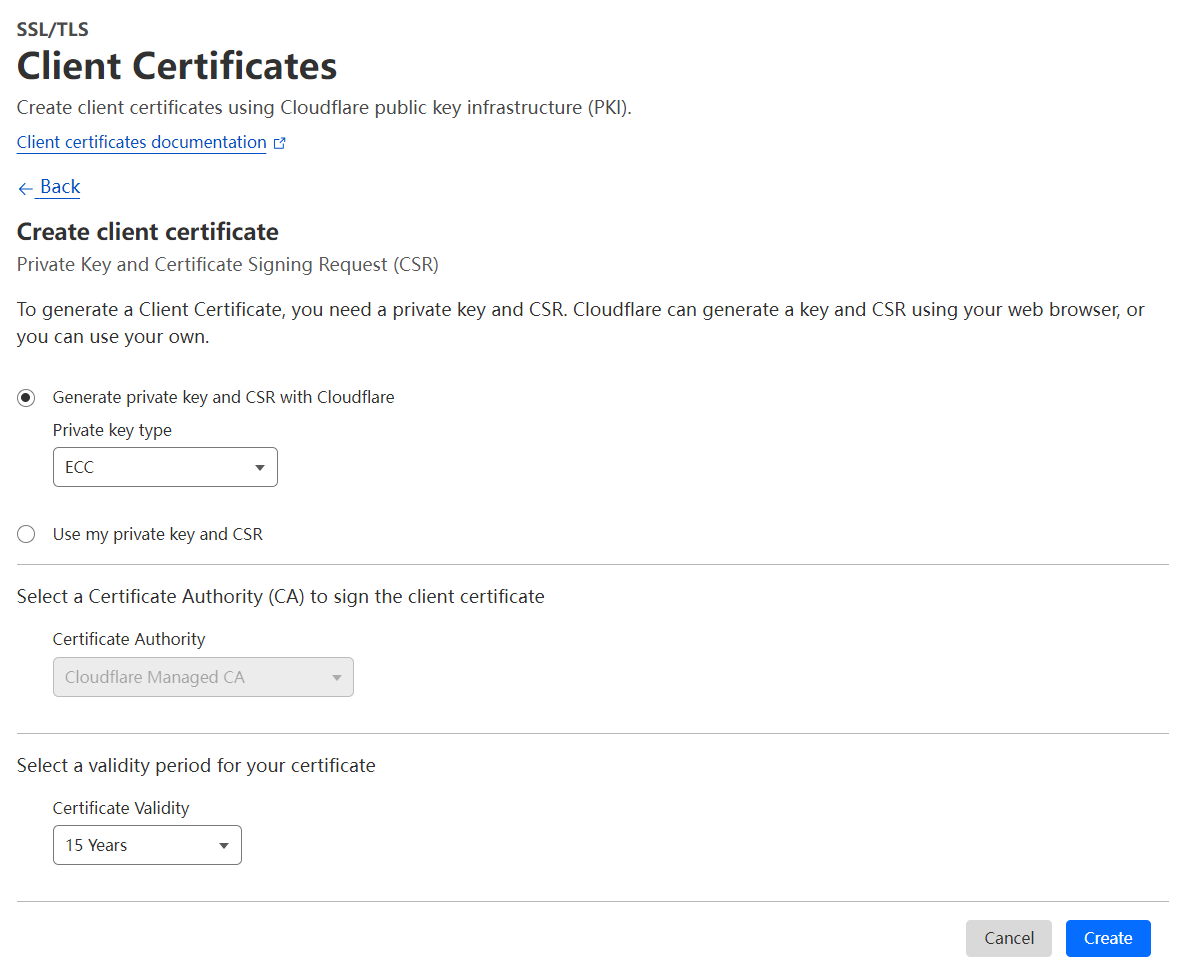
把pem格式证书存到本地
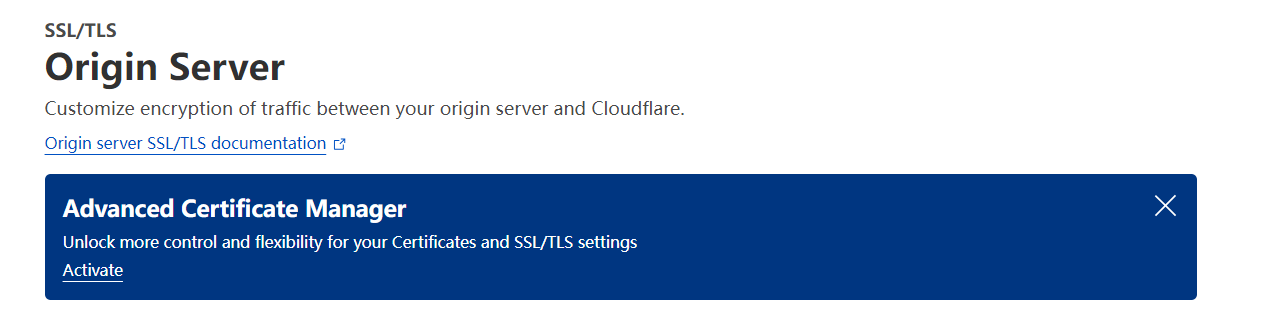
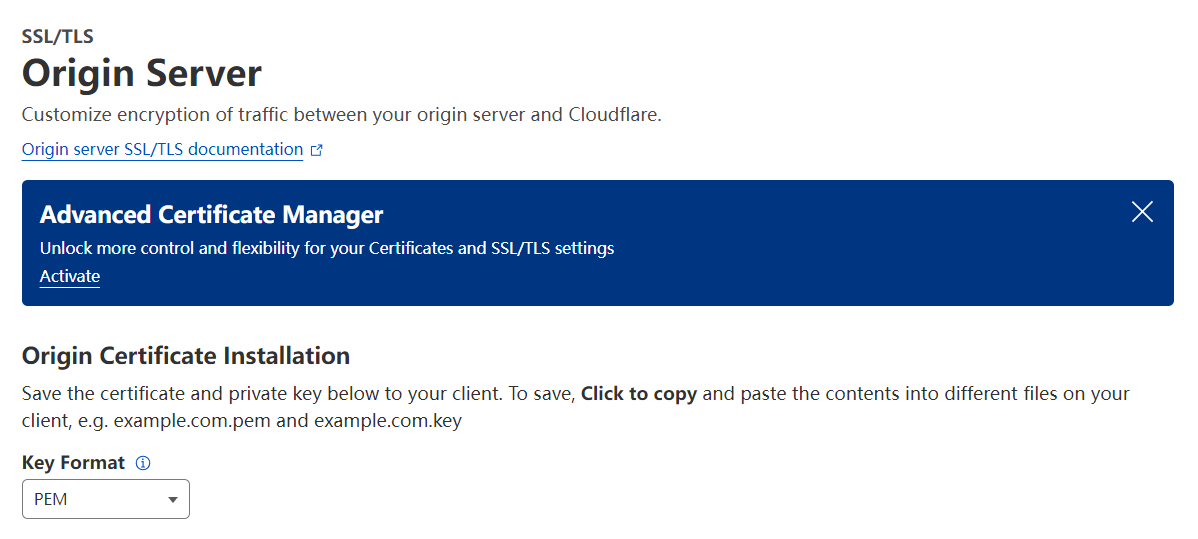
设置Origin Server加密(Customize encryption of traffic between your origin server and Cloudflare.)
设置说明
1
2
3
4
5
| # Origin Certificate Installation
Save the certificate and private key below to your client. To save, Click to copy and paste the contents into different files on your client, e.g. example.com.pem and example.com.key
# Origin Certificate
# Private key
Copy the contents of your private key below to your web server and set file permissions such that only your http server can access it. Additionally, you can optionally encrypt this file and provide a password to decrypt it during your origin web server startup. The private key data will not be stored at Cloudflare and will no longer be accessible once the creation is complete. Please make sure you have a local copy of this key.
|
Nginx反向代理
在宿主机上安装nginx
1
2
3
4
5
6
7
8
9
| sudo apt update
sudo apt install nginx
sudo systemctl start nginx
sudo systemctl enable nginx
# after config
sudo systemctl reload nginx
sudo systemctl restart nginx
# stop
sudo systemctl stop nginx
|
配置文件xxxx.conf 存放的位置/etc/nginx/sites-available/[flag].conf
这里的域名和端口都需要按照个人的需求更改[flag: 说明]。
 1
 2
 3
 4
 5
 6
 7
 8
 9
10
11
12
13
14
15
16
17
18
19
20
21
22
23
24
| server {
listen 80;
return 301 https://$host$request_uri;
}
server {
server_name [flag:domain];
listen 443 ssl http2;
ssl on;
ssl_session_cache builtin:1000 shared:SSL:10m;
ssl_protocols TLSv1 TLSv1.1 TLSv1.2;
ssl_ciphers HIGH:!aNULL:!eNULL:!EXPORT:!CAMELLIA:!DES:!MD5:!PSK:!RC4;
ssl_prefer_server_ciphers on;
ssl_certificate /etc/nginx/[flag:path to store key]/[flag:domain].pem;
ssl_certificate_key /etc/nginx/[flag:path to store key]/[flag:domain].key;
location / {
proxy_set_header Host $host;
proxy_set_header X-Real-IP $remote_addr;
proxy_set_header X-Forwarded-For $proxy_add_x_forwarded_for;
proxy_set_header X-Forwarded-Proto $scheme;
proxy_read_timeout 90;
proxy_redirect http://[flag:host ip]:[flag:host port] https://[flag:domain];
proxy_pass http://[flag:host ip]:[flag:host port];
}
}
|
软链接sudo ln -s /etc/nginx/sites-available/proxy.conf /etc/nginx/sites-enabled/,完成配置之后重启nginx服务。
1
2
3
| sudo nginx -s reload
sudo systemctl reload nginx
sudo systemctl restart nginx
|
启动
1
2
3
4
5
6
7
8
| # 根据当前目录Dockerfile生成image
docker build -t [flag] .
# 运行
docker run -d -p [flag:host port]:80 --name [flag:container name] [flag:image name]:[flag:image tag]
sudo systemctl start nginx.service
sudo systemctl enable nginx.service
# 检查nginx状态
systemctl status nginx
|